
“Print-ready” does not simply mean the file is a PDF. It means the artwork matches the confirmed production brief, survives technical preflight and can move into production without the printer guessing your size, repairing missing bleed, replacing fonts or deciding which version is final. If you only need help correcting the artwork, start with our Print-Ready Artwork Kampala service. If the files are approved and you need production, use Printing Services Kampala.
Choose the Right Starting Point
Your layout is finished
Use this checklist, export the final PDF and proceed through our printing hub for material, quantity and finishing guidance.
The file has warnings
Use print-ready artwork support when bleed, fonts, images, sizing, page order or export settings need correction.
The logo itself is weak
A screenshot cannot become a clean large sign by exporting it as PDF. Consider logo redraw or design before production.
1. Lock the Production Brief Before Checking the Artwork
Begin with the physical result, not the software. Write down the finished width and height, orientation, quantity, material, number of printed sides, colour requirements and finishing. For a folded brochure, confirm the fold. For a book, confirm the finished size, page count, cover and binding. For stickers, confirm the cut shape. For a banner, confirm eyelets, hemming, sleeves or installation requirements.
This prevents a common Kampala production problem: receiving a visually approved design without enough information to manufacture it correctly. A request reading “print 100 copies” is incomplete when the material, size, sides and finishing are unknown. Our materials and finishing options page helps when those decisions are not yet settled.
2. Confirm the Document Size at Final Output
Open the document properties and verify the actual page dimensions. Do not judge size from how large the design appears on screen. A4, A5, business-card, roll-up and banner artwork can all look similar when a viewer automatically fits the page to the window.
For large-format artwork prepared at scale, state the scale clearly in the filename and production note—for example, “artwork at 10%, output at 3000 × 2400 mm.” Resolution must then be judged at the final output size, not only at the reduced design size. See our large-format printing page when preparing banners, backdrops and oversized graphics.
3. Add Bleed and Protect the Safe Area
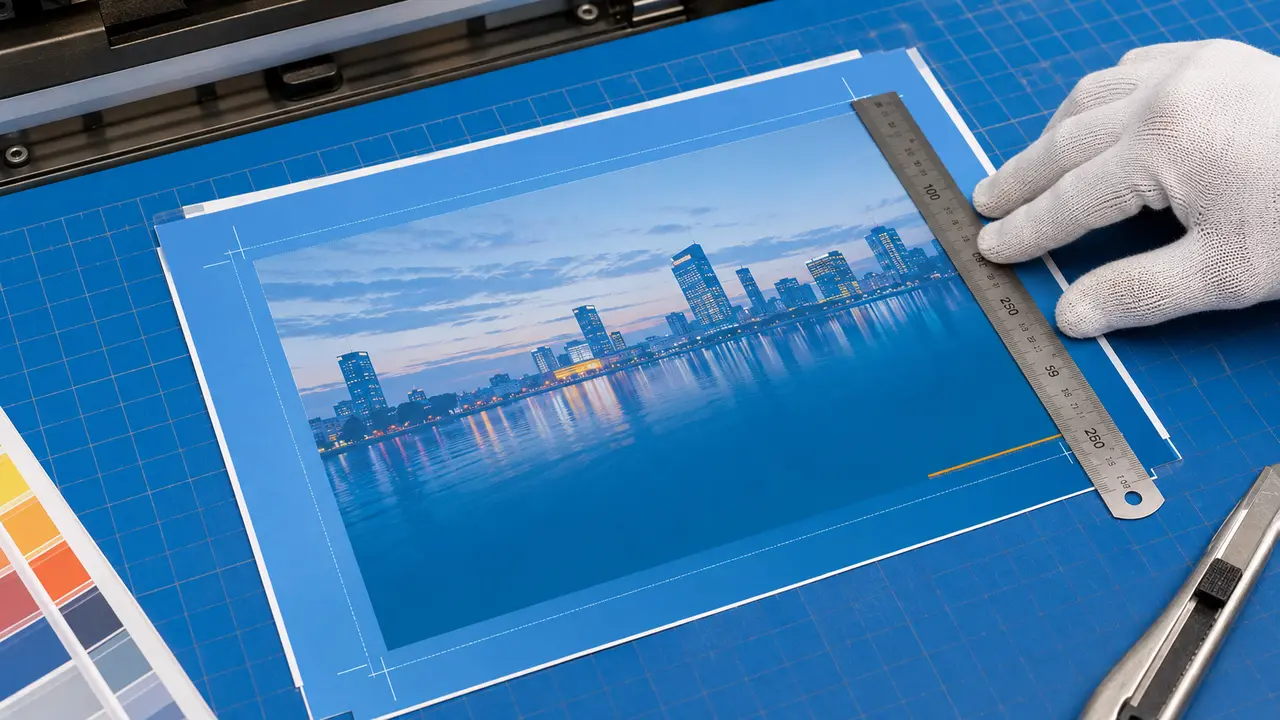
Bleed is artwork extending beyond the final trim edge so a small cutting variation does not leave an unwanted white line. For many small-format jobs, 3 mm on every side is a practical starting point, but packaging, books, folders and specialised finishing may need a different allowance. Confirm before exporting.
Bleed is not the safe margin. Background colours and images extend into the bleed; names, phone numbers, logos, page numbers and other important content remain comfortably inside the trim. Avoid thin borders close to the edge because even a minor cutting shift makes them look uneven.
4. Check CMYK, Brand Colours and Black Handling
Phones and monitors display RGB light; most commercial print workflows reproduce colour with inks or toner. Bright screen colours—especially vivid blue, green and orange—may not reproduce identically after conversion. Review important brand colours before approval and do not use a phone display as the only colour reference.
Use simple 100% black for small black text unless the production workflow specifies otherwise. Rich black can be useful for large dark backgrounds, but an unsuitable multi-ink black on tiny type may create registration problems. If exact brand matching matters across several items, provide the approved colour references from your brand guidelines and request a physical proof where appropriate.
5. Measure Image Resolution at the Size It Will Print
A photograph may be 300 PPI when small but fall below 100 PPI after being enlarged across a backdrop. Check effective resolution at the placed or final size. Close-viewed items such as business cards, flyers, labels and brochures commonly need around 300 PPI. Large-format work can use lower effective resolution depending on physical dimensions, viewing distance and production method; it should not automatically inherit the same rule.
Do not enlarge a small web image and assume the export will restore detail. Saving a blurred screenshot inside a high-resolution PDF only creates a high-resolution container around a low-resolution image. Our related guide on the best file formats for printing in Uganda explains the difference between PDF, vector and raster files.
6. Embed Fonts, Outline Carefully and Check Small Text
Missing fonts can change line breaks, spacing and page length when the file is opened elsewhere. A final PDF should embed the fonts permitted by their licences. Outlining display text can protect appearance in some workflows, but keep an editable source copy because outlined wording can no longer be corrected normally.
Inspect small text, reversed white text and thin strokes at high zoom. Text that looks elegant on a bright monitor can fill in, disappear or become difficult to read on textured stock, fabric, vinyl or a dark background.
7. Keep Logos, Icons and Line Work as Vectors
Logos, icons, QR codes, line illustrations and cut paths should remain vector wherever possible. Vector artwork stays sharp from a receipt book to a roadside sign. A logo copied from Facebook, Google or WhatsApp is usually a raster preview—not a production master.
If only a weak logo is available, disclose it before printing. It may need professional redrawing through Logo Design Kampala rather than artificial enlargement.
8. Embed or Package Linked Images
Illustrator and InDesign layouts may display images linked from another folder. Those links can disappear when only the working file is sent. Either embed the approved assets or package the project with its links and fonts, then include a reference PDF showing the intended appearance.
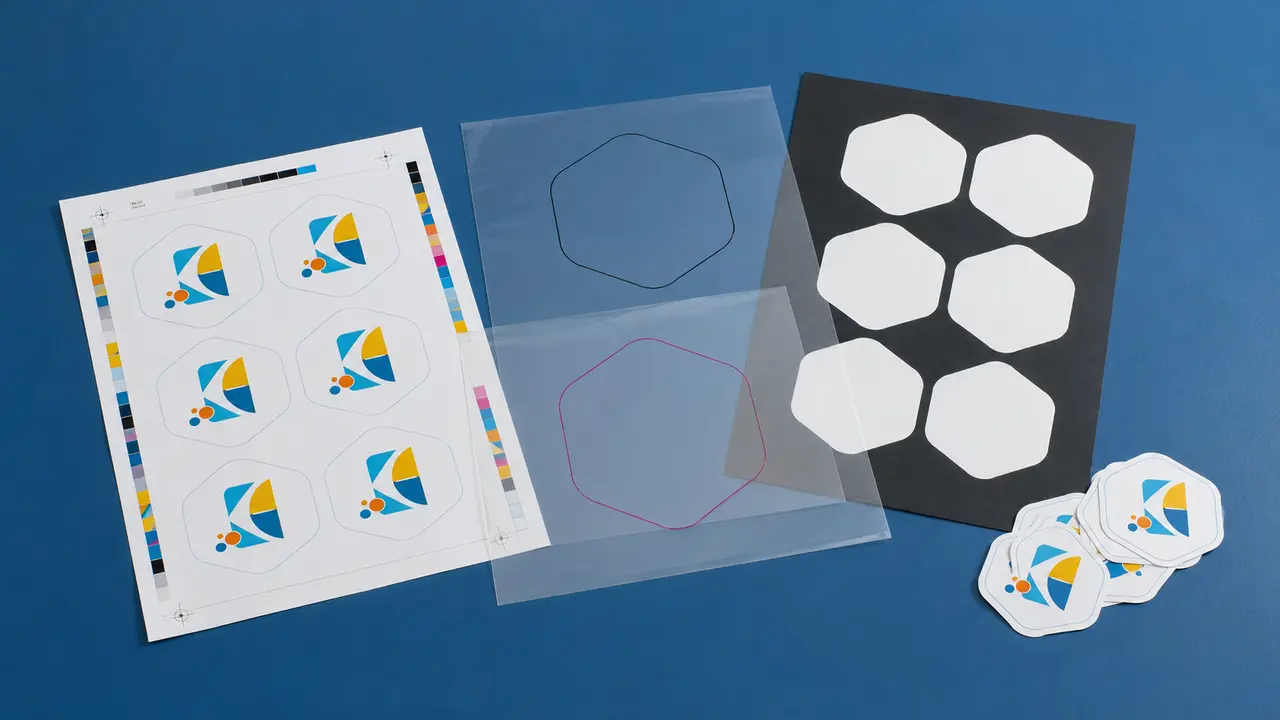
9. Separate Dielines, Cut Paths, White Ink and Finishing Guides
Stickers, labels, packaging, contour-cut vinyl and some promotional products need more than visible artwork. Cut paths, crease lines, perforations, white-ink layers, varnish or foil areas should be clearly named and separated from printable graphics—normally using agreed spot colours or layers.
Do not flatten a packaging dieline into the artwork without identifying which lines cut and which lines fold. For product work, review packaging design, product label design or sticker printing before final approval.
10. Supply Multi-Page Documents as Pages, Not Printer Spreads
Books, reports, catalogues and programmes should normally be supplied as one ordered PDF containing individual pages, including intentional blank pages. Do not manually rearrange them into printer spreads unless the production team specifically requests imposed artwork.
Confirm cover files, inside-cover printing, page numbering, spine requirements and binding separately. For longer documents, use our book printing, catalogue printing or report design guidance.
11. Test QR Codes, Contacts, Dates and Variable Information
Scan every QR code from the exported PDF and, where possible, from a physical-size test. Confirm telephone numbers, email addresses, account details, dates, venue names, social handles and prices. For certificates, badges, invitations or personalised items, verify the source list, spelling and record count before merging.
A press proof can reveal colour or size issues, but it cannot know that a director’s name, payment number or event date is wrong. Content approval remains essential.
12. Export Canva, Word and PowerPoint Files Deliberately
For Canva, begin with the correct custom dimensions, turn on print bleed, extend backgrounds to the bleed edge and download using PDF Print. Select crop marks and bleed when the printer requests them, then reopen the PDF and inspect it. Do not send only an editable Canva link without a final approved PDF.
Word and PowerPoint can produce usable PDFs for some straightforward documents, but check page size, font substitution, image compression, transparency and layout shifts carefully. Complex books, packaging and precision layouts are safer when rebuilt or finished in professional layout software.
13. Do Not Let WhatsApp or Email Reduce the Artwork
When using WhatsApp, attach the PDF or artwork as a document—not as a photo. Photo sharing can compress the file. For large projects, use a stable download link and keep the approved filename unchanged. Never treat a screenshot of the design as final production artwork.
14. Export, Reopen and Inspect the Actual Production PDF
After export, close the design application and open the PDF you will send. Check every page at normal view and high zoom. Confirm page dimensions, bleed, missing objects, transparency, image sharpness, spelling, page order and crop marks. This catches export-specific errors that are invisible in the working file.
15. Control the Final Version and Record Approval
Use a filename that identifies the client or project, item, dimensions and version—for example, CLIENT_EVENT_BACKDROP_3000x2400MM_FINAL_APPROVED.pdf. Avoid sending files called “final”, “final2”, “final last” and “latest corrected” without withdrawing the older versions.
Production should begin from one clearly approved file. For institutional work, record who approved it and when. If a correction follows approval, issue a new version and state that it replaces the previous file. This protects the budget, schedule and accountability on both sides.
Extra Checks by Print Job
Business cards, flyers and brochures
Final size, 3 mm bleed where applicable, safe text, 300 PPI images, CMYK review, folds and double-sided orientation.
Books and reports
Single ordered pages, intentional blanks, embedded fonts, cover/spine details, page numbers, binding and proof approval.
Stickers and packaging
Dieline, cut path, crease lines, bleed beyond cuts, white ink or finishing layers, barcode size and material confirmation.
Banners and backdrops
Final output dimensions, scale statement, effective resolution, viewing distance, hemming, eyelets, sleeves and installation allowances.
Signage and vehicle branding
Site measurements, panel divisions, vector logos, cut contours, overlaps, obstructions, material and installation drawings.
Apparel and merchandise
Branding method, print size, placement, colourway, vector artwork, spot colours and a physical or visual placement approval.
The Final 60-Second Approval Checklist
Uncertain whether the file is genuinely print-ready?
Send the artwork together with the intended size, quantity, material and finishing. We can preflight it, identify production risks and prepare the final output before printing begins.
Related Printing Guides
Best File Formats for Printing in Uganda
Understand when to send PDF, AI, EPS, SVG, PNG or JPG and why changing the extension does not improve weak artwork.
Flyer vs Brochure Printing in Kampala
Compare formats, folds and content depth before preparing the artwork.
Branding, Printing & Signage in Uganda
Plan the wider rollout when one project must stay consistent across multiple materials.
Relevant Services
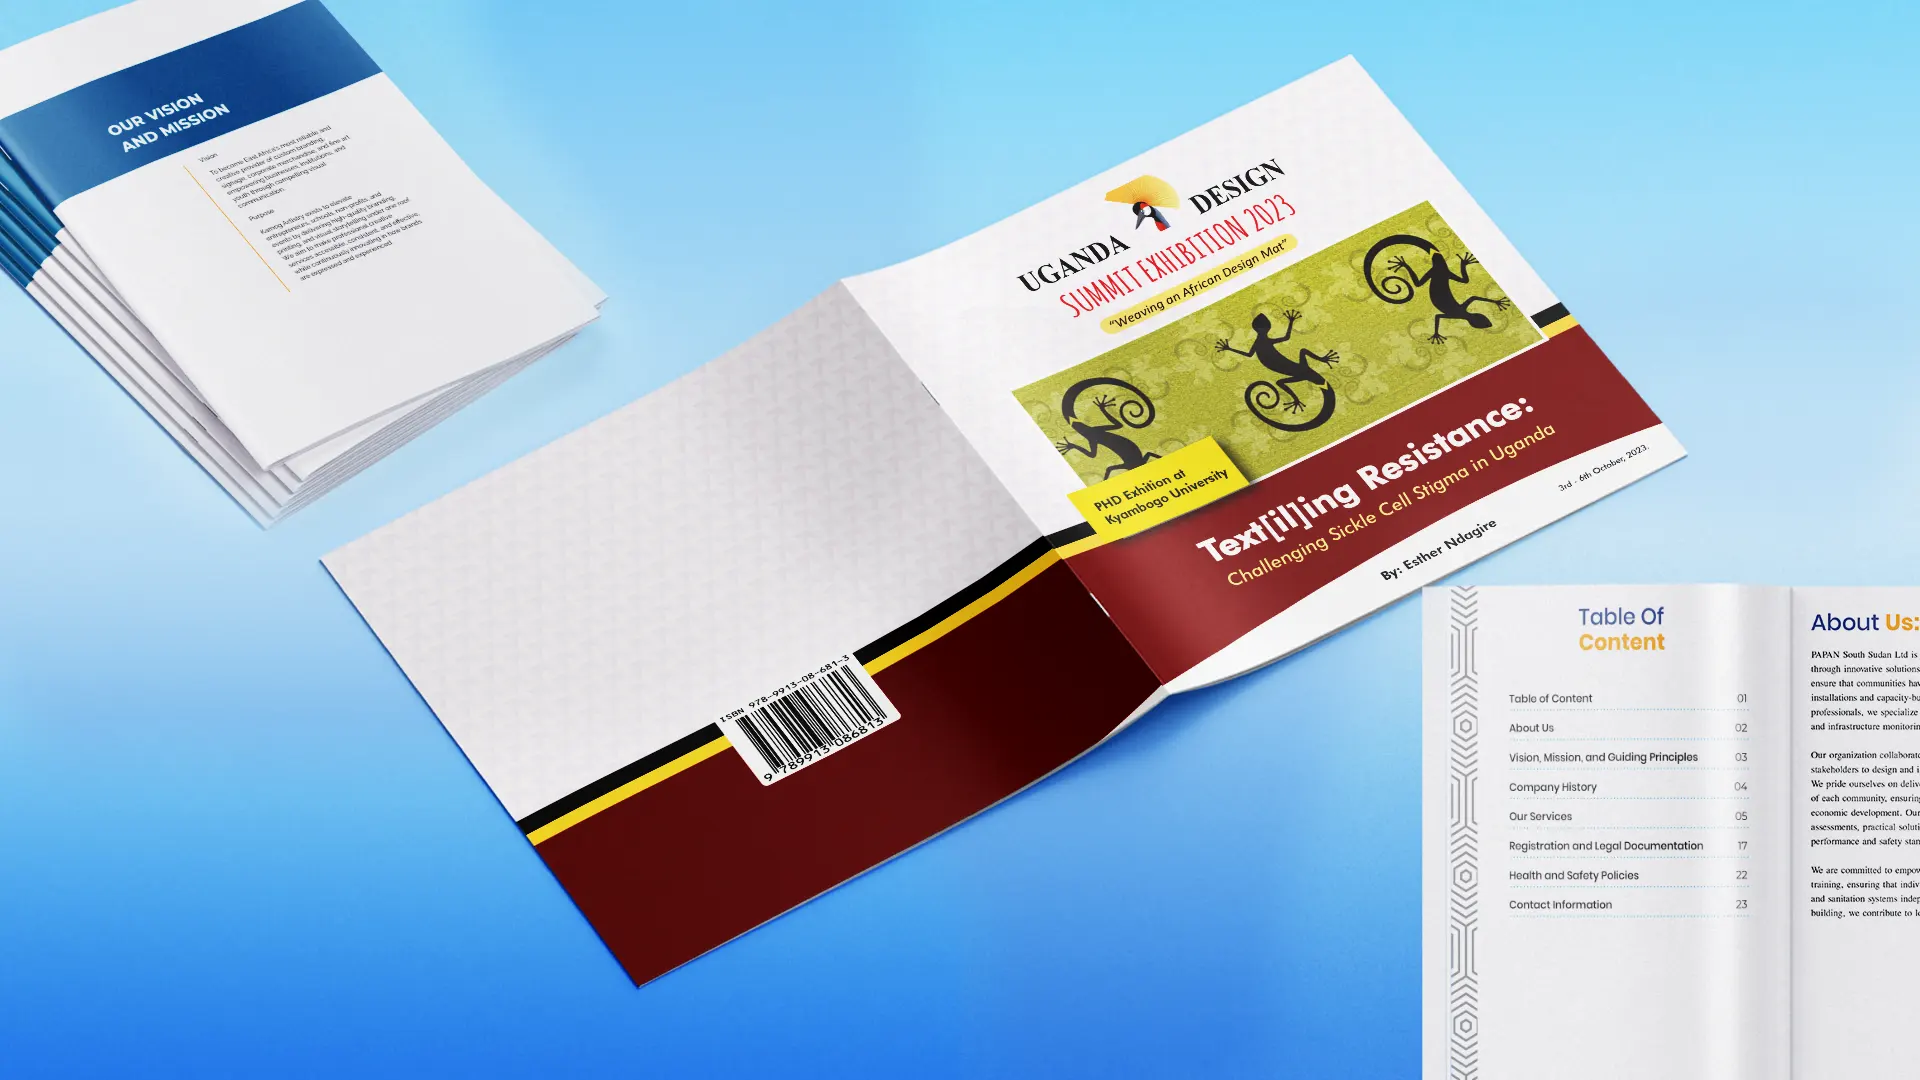
Print-Ready Artwork Kampala
Technical correction, resizing, bleed, preflight and reliable final exports.
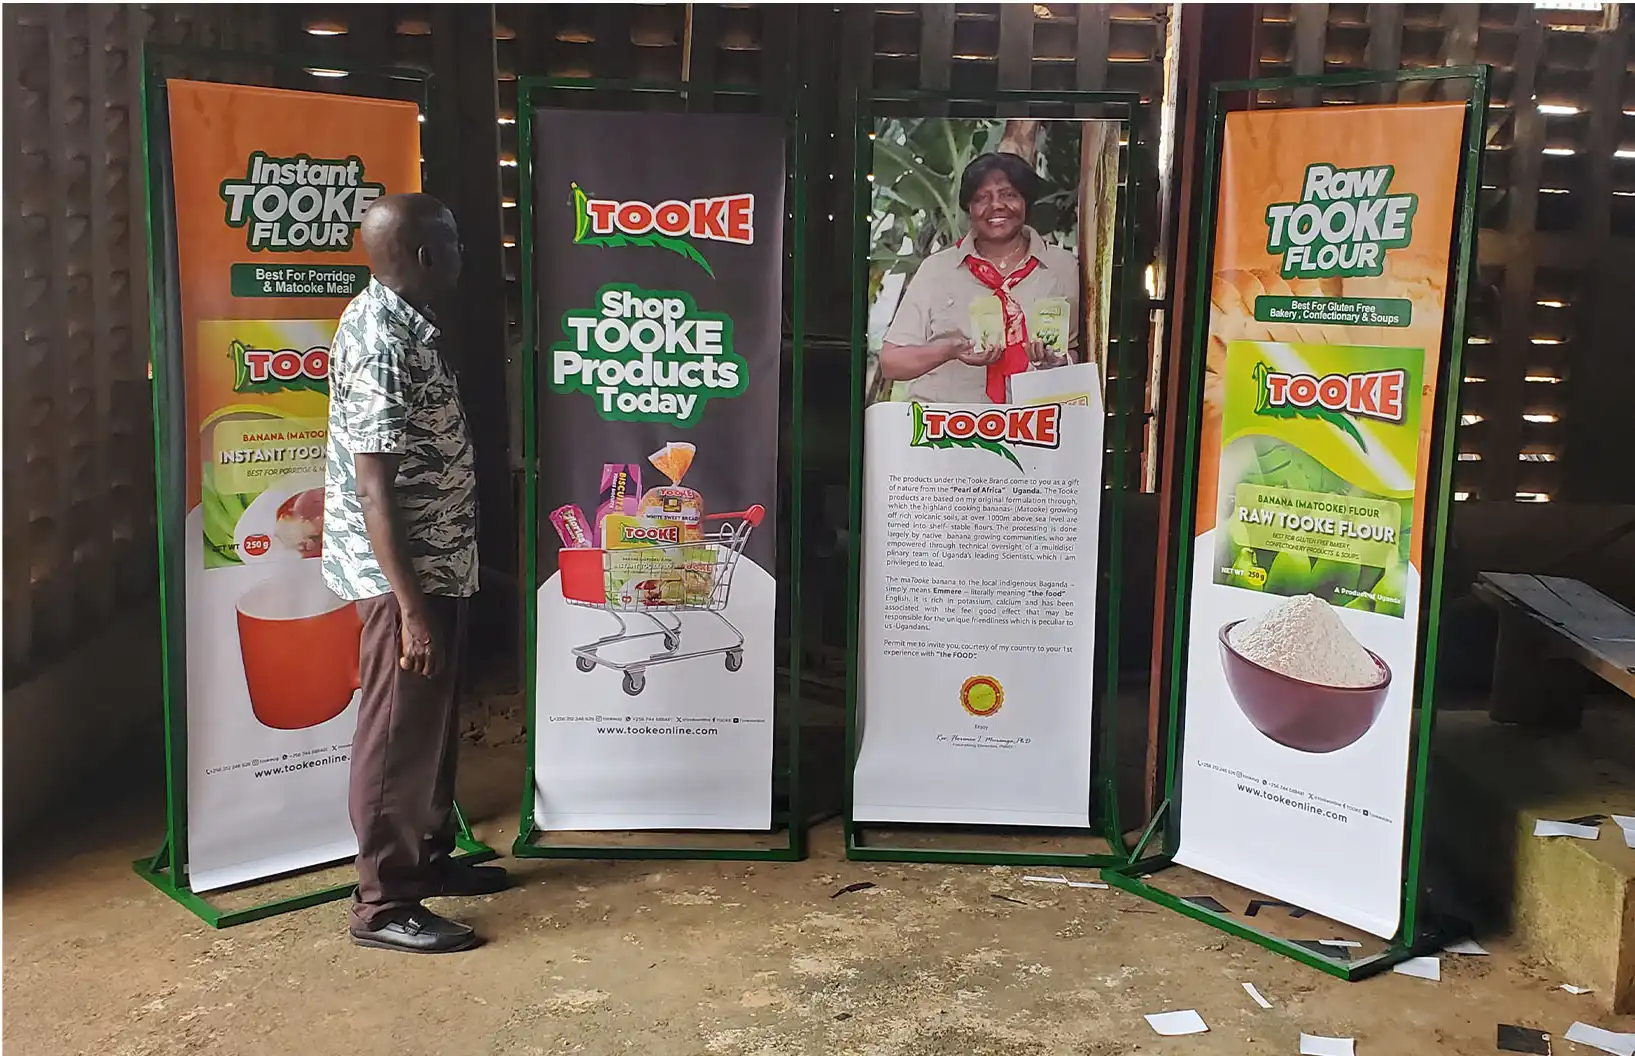
Printing Services Kampala
Production support across business print, publications, large format and finishing.
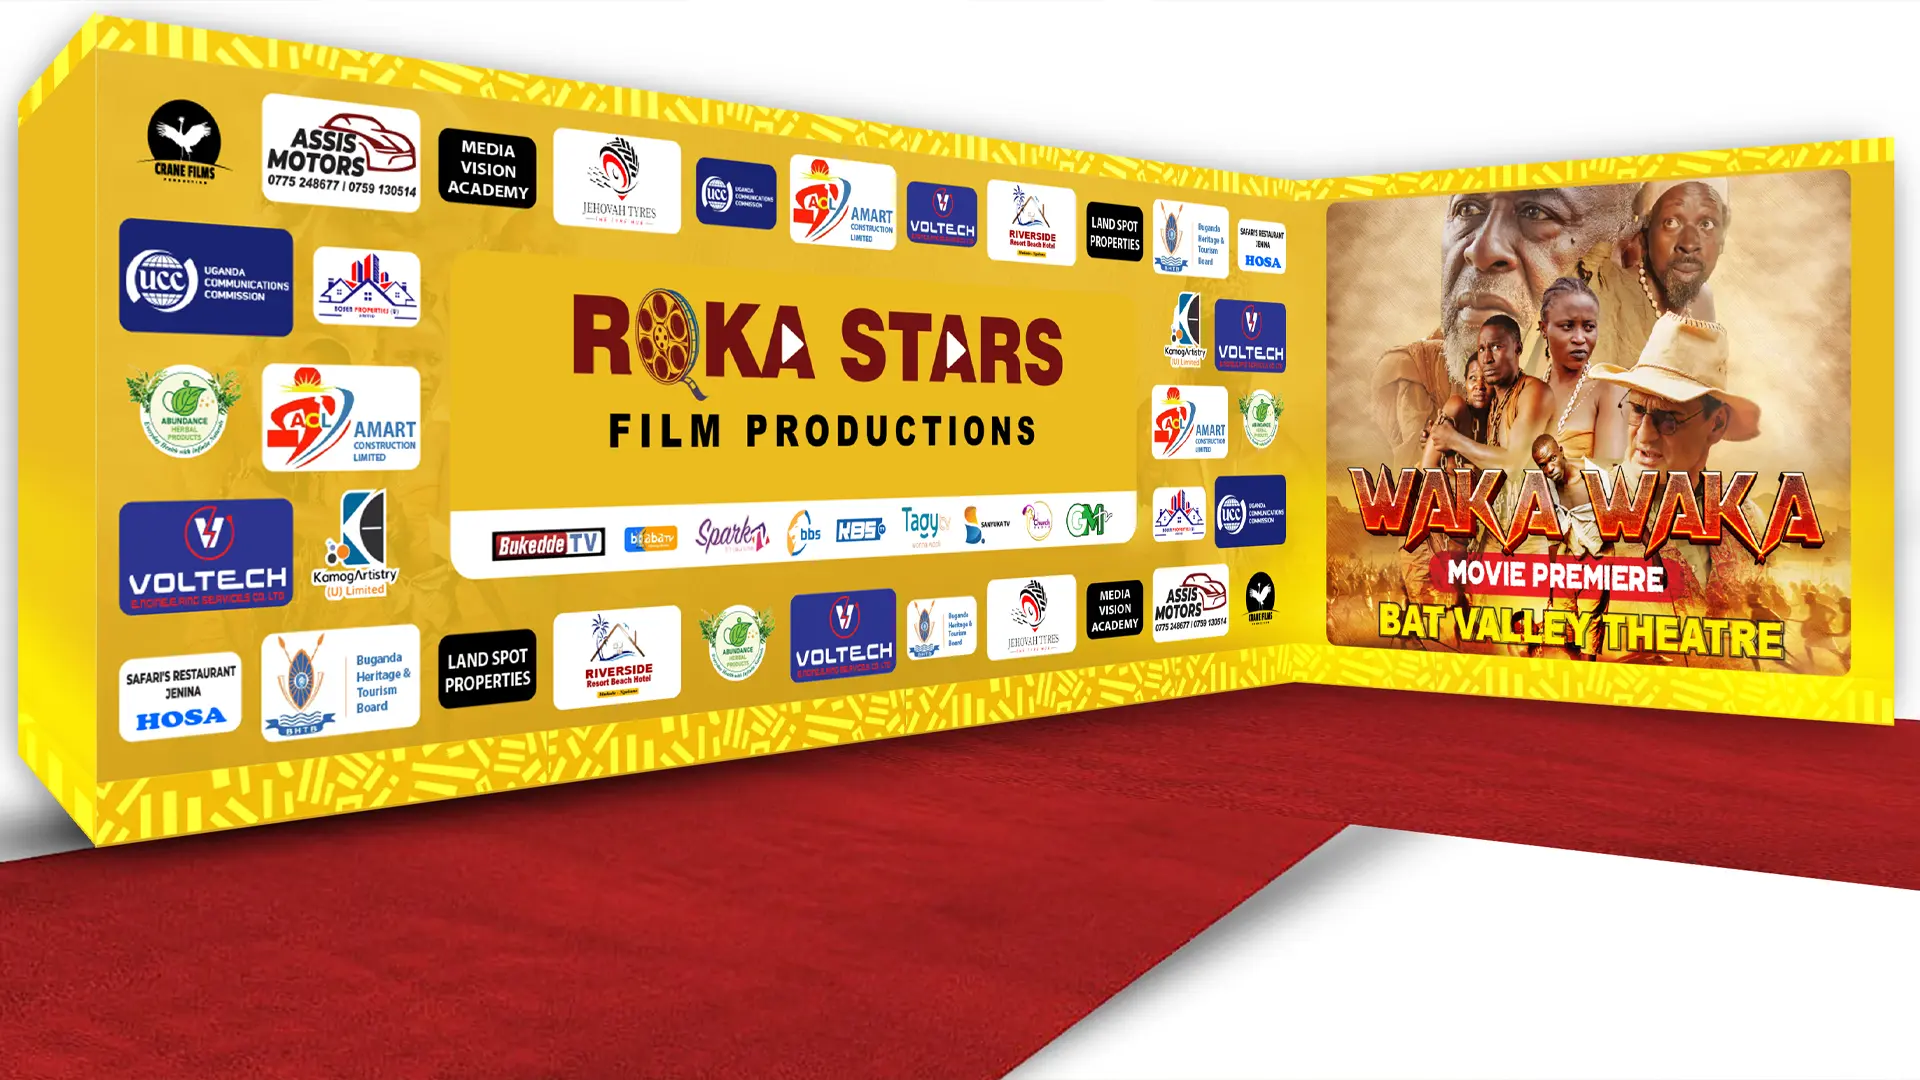
Large-Format Printing Kampala
File preparation and production guidance for banners, backdrops and oversized graphics.
Print-Ready File Checklist FAQs
What should I check before sending artwork to a printer in Kampala?
Confirm the finished size, material, quantity, print sides and finishing; then check bleed, safe margins, effective image resolution, vectors, colour, fonts, page order and the exported PDF.
Is PDF Print from Canva enough?
It is the correct starting export, but not a guarantee. The Canva document still needs the correct dimensions, bleed, safe margins and sufficiently sharp images. Reopen and inspect the downloaded PDF before approval.
Can I send artwork through WhatsApp?
Yes—attach it as a document. Do not send the final artwork as a photo because image sharing can compress it. Include the finished size, quantity, material and finishing in the same message.
Does every print job require 300 DPI?
No. Close-viewed work commonly needs around 300 PPI at final size, while some large-format work can use a lower effective resolution because it is viewed from farther away. Confirm based on the actual output.
Should I outline every font?
Not automatically. A properly exported PDF can embed fonts. Outlining can protect selected display text but reduces editability and may affect accessibility or very small type. Keep the editable source file.
Who approves spelling, names and contact details?
The client should approve the exact final production file. The printer can flag visible technical risks but cannot know whether a supplied name, date, price, telephone number or account detail is factually correct.
About the Publisher

Kamog Artistry (U) Ltd delivers branding, graphic design, printing, signage and creative production for businesses, institutions and event teams in Kampala and across Uganda.
This checklist is based on the artwork problems that delay real production: unclear dimensions, compressed files, missing bleed, weak logos, untested codes, inconsistent versions and incomplete finishing instructions.